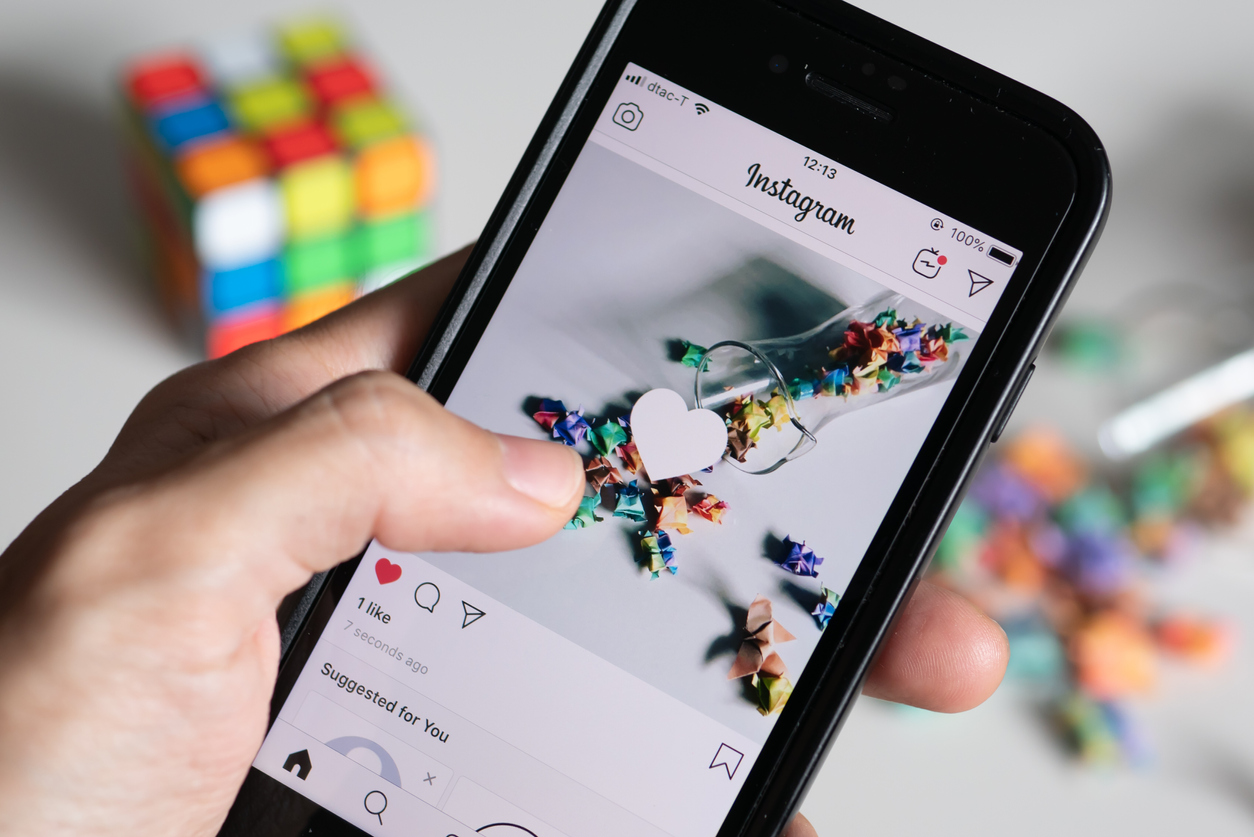
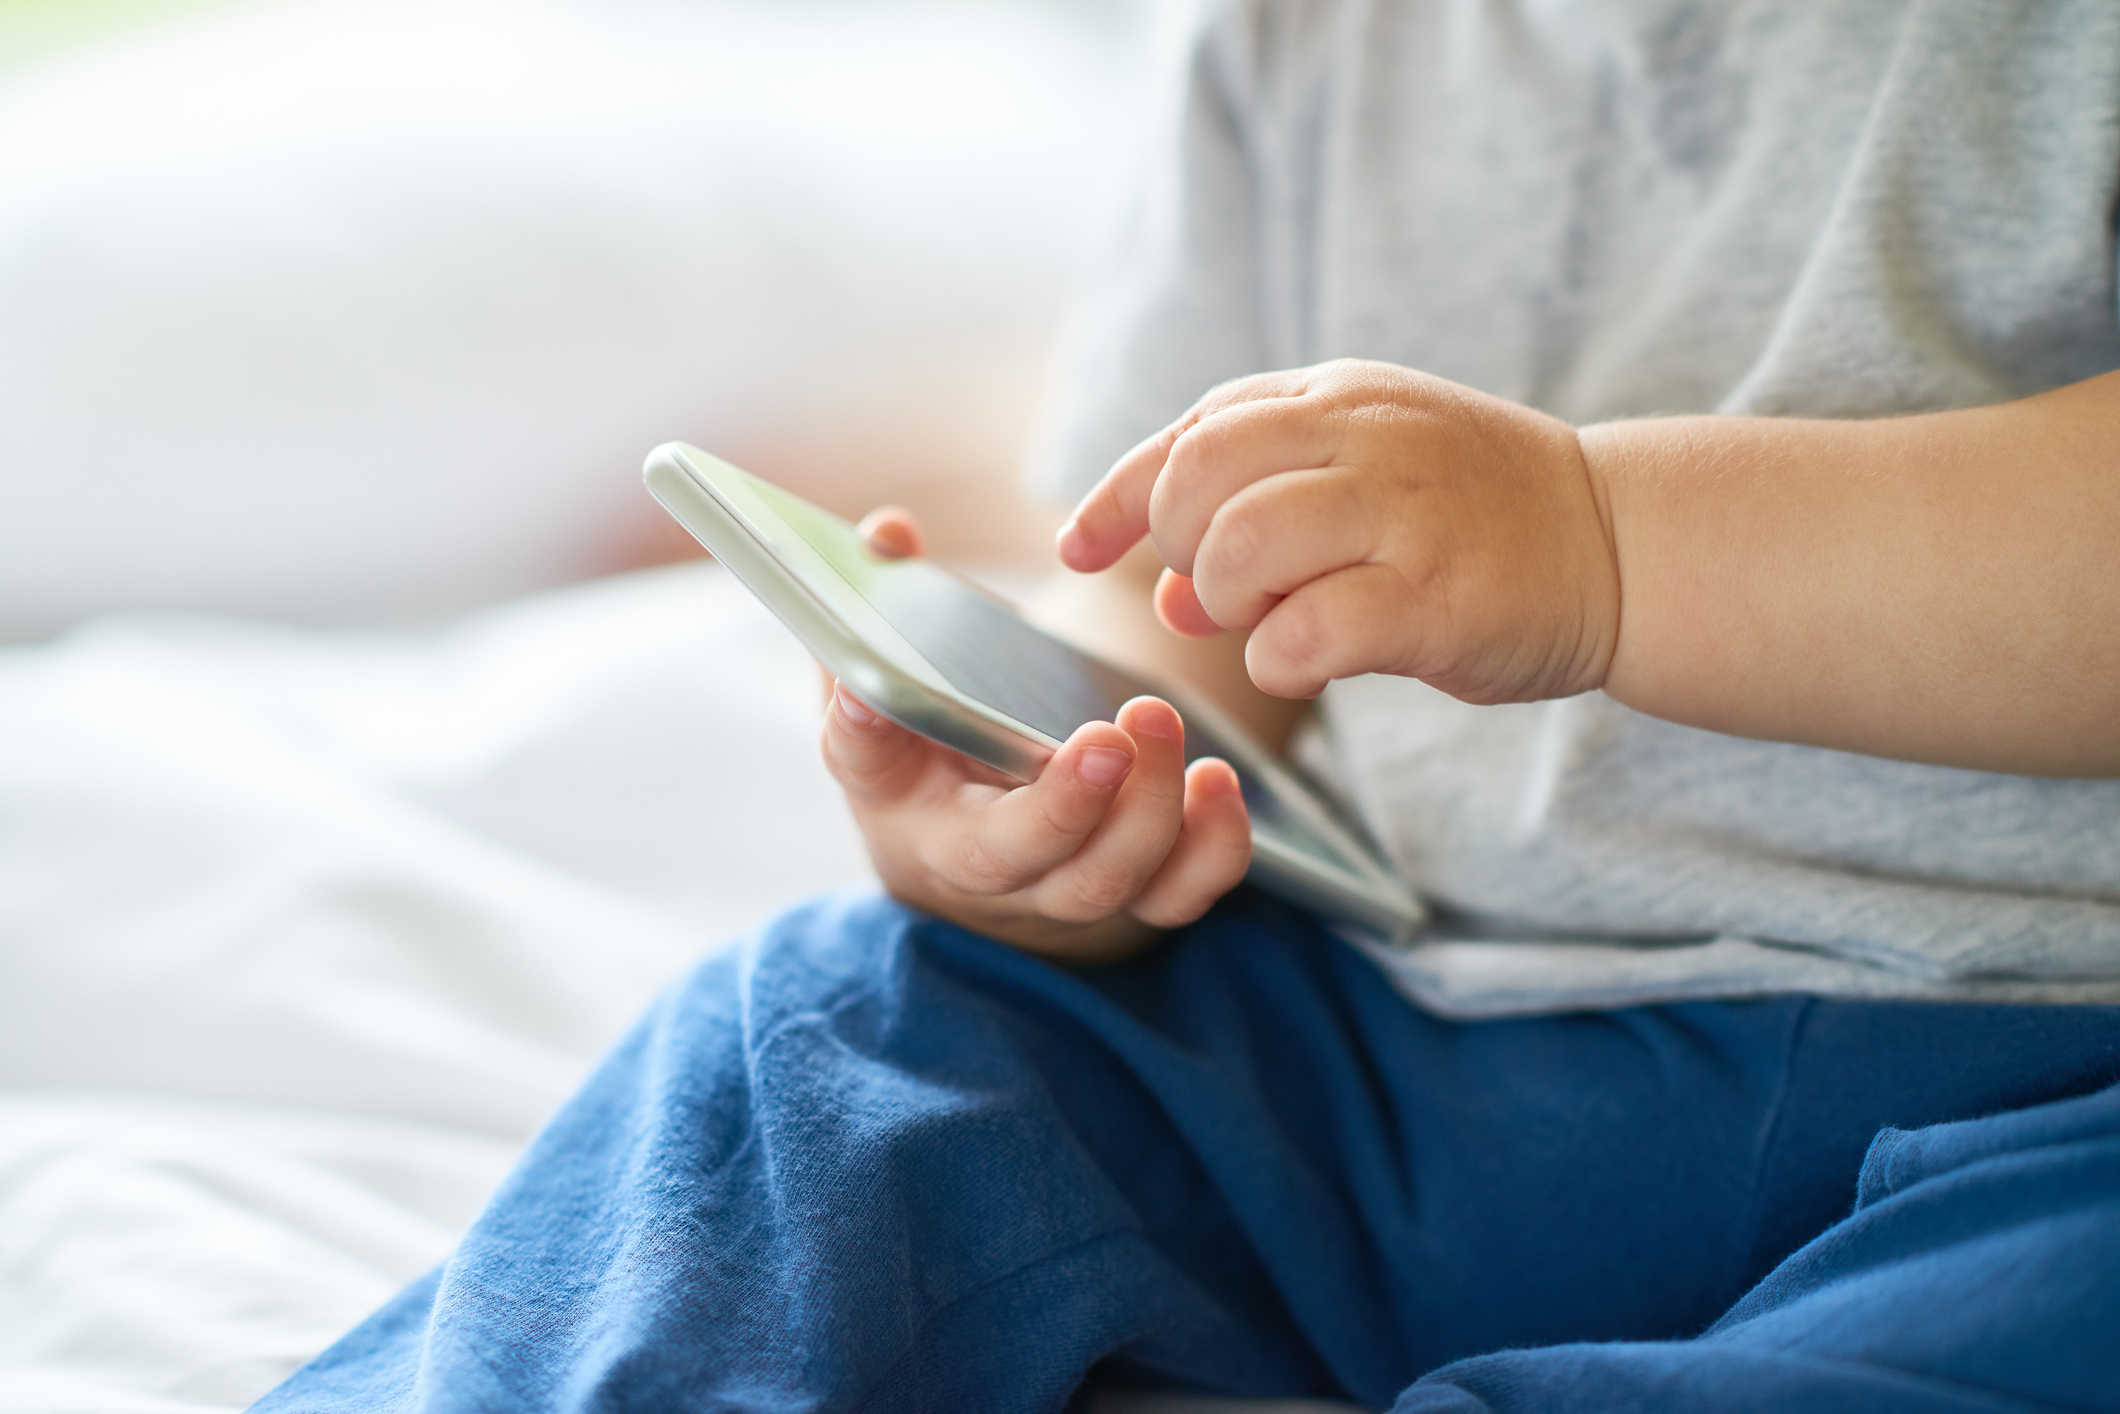
A private Instagram account is a better Instagram account because its a safer Instagram account. It’s also really quick and easy to do. Here’s a brief how and why to get you on your way to private, better, safer Instagram.
First, the Why
If your Instagram account is public, that means anyone with access to the app can look at your posts, send you direct messages and see when you’re active on the platform. If you’re advertising a product or a service, that’s probably a good thing. But if you’re posting photos of family vacations—or if your children are posting on accounts of their own—it’s probably not.
Cyberstalking, cyber bullying and identity fraud are all awful, and they’re all made possible by bad actors gaining access to important information. An effective deterrent, then, is to deny that access. Ratcheting up your social media privacy settings is a good start.
Second, the How
Each social media platform has its own privacy settings and procedures. We’ll show you how to make your Instagram account—and your kid’s—private and more secure.
- Your Instagram account defaults to public. Make it private by tapping the three bars in upper right of your Home page and then tapping Settings >> Privacy >> Account Privacy and tapping the Private Account toggle. This means people have to request—and be granted—access before they can see your posts.
- If you have followers you approved and no longer want, you can simply remove them—they are not notified. Tap the three dots by their name in the Followers list and choose Remove.
- Turn off your Activity status/green dot: Go to your Profile page >> Settings >> Privacy >> Activity Status >>TURN OFF
- Control who can send you direct messages. Go to: Profile page >> Settings >> Privacy >> Story (says Story Controls when tapped) >> Allow Message replies. Choose Your Followers, Followers You Follow Back or Off.
- While on this page, turn OFF “Allow Resharing to Stories” or “Allow Sharing as Message.”
- If you allow yourself to be tagged in a photo or post, make sure you choose to be notified when you’re tagged. This allows you to approve the tag before it’s posted. Go to: Profile page >> Settings >> Privacy >> Tags: Change to People you Follow or No One and for Tagged Posts, turn Manually Approved Tags to On.
Fairly quick and easy, right? And while it’s not perfect (a follower could make a screenshot of your post and then distribute it however he pleases), it’s a whole lot better than nothing. Once you’ve made these changes to your account, walk your children through them, too, explaining why social media is best when it’s private.


Your IP address is
216.73.216.122
and you live in
Columbus, OH